
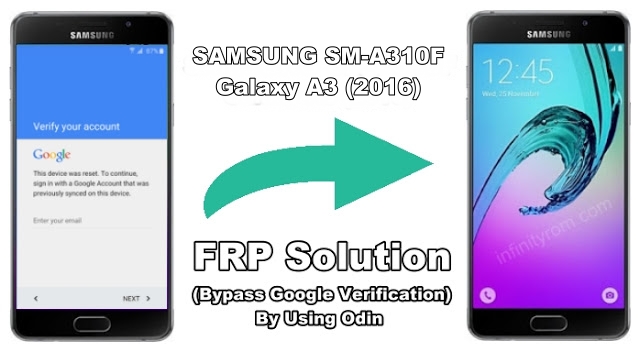
Remove FRP Samsung A3 (6) SM-A310F Android 7.0 100% Working Method
Before starting FRP removing procedure, you will need to download and install following stuff that is given below. This method is 100% working.
1- Samsung USB Drivers
2- Odin Tool (Samsung Flashing Tool)
3- A3 (2016) SM-A310F COMBINATION_FAC_FA51_A310FXXU2APG1
4- A3 (2016) SM-A310F Stock ROM A310FXXU3CQL3
How To Remove A3 (2016) Via Odin - Complete Guide
- Install Samsung USB drivers on your PC (Skip this step if already installed).
- Make sure⧭ Phone battery must be charged at least 50% before flashing.
- Power off your device and boot into Download Mode. Press and hold Volume Down + Home + Power button at the same time, Release all buttons when warning sign appear then press Volume Up button to continue.
- Extract Odin software and launch it then connect your phone with PC via USB data cable, Odin will recognize your device.
- Now you need to flash Combination file first, Click on AP or PDA (According to Odin Version that you use) button and select Samsung A3 (6) Combination.tar file then click on Start button. When Green Pass message appear, phone will Reboot automatically.

- Now Your phone is in Factory Binary Mode, Go to Settings>> Backup & reset>> Factory data reset>> RESET PHONE>> ERASE EVERYTHING.
- After Factory Reset, Connect your phone with PC in Download Mode, Open Odin tool and write flash back to Stock ROM (Original Firmware). Click PDA or AP button and select .tar file from Stock ROM folder and click on Start button.

- After flashing, phone will reboot in normal mode and now you don't need any Google Account Verification. FRP is successfully removed.


Post a Comment